well, all of the adventures in this post are about William's broken leg.
A couple of weeks before school was out, I got William a new bike because his 3 year old brother had taken over the one he had been riding. I have TWO boys who ride without training wheels: a five year old and a three year old. *sigh*...scary!
Anyway, one day Evil Knievel was going too fast around a sharp corner and fell over on his bike, breaking his leg. Yay! I got him inside and got his helmet off and pads, and gave him an ice pack but he was still shrieking hysterically and begging for water, so I suspected his leg might be broken. I called for a second opinion, from his Dad, and he agreed. We whisked him off to the urgent care place we like,
City Doc Uptown, and they had him in, xrayed, diagnosed, and in a temporary cast and out the door with a fistful of prescriptions in 30 minutes. That place is awesome. We always get the best service there!
Here we are at City Doc. He felt a lot better once his leg was set, but even with the pain meds we had a very long night. Unfortunately the pain meds made him incredibly itchy all over, so we had to ditch those pretty early in.
We got a wagon and took him to get some sorbet at Paciugo
And, to add insult to injury, he got a virus with a fever and nasty cough, so he spent a lot of time doing this.
On the Tuesday after Memorial Day, I called around a few places and finally got him in (that day) at a pretty good orthopedics group. This place:
Texas Orthopaedic Associates. They were fast, efficient and thorough. We were always able to get in and out of there very quickly. I really liked everyone I encountered.
Here's leg, out of the temporary cast. Still dirty from the day of the wreck! ha ha! and, his poor little swollen ankle and foot. The break was actually 3 or 4 inches above his ankle, both bones.
His break, in both bones, requires that the knee be immobilized. boo.
Choosing the cast color: very important!
He picked red!
Huge, huge, cast!
This red cast had a lot of adventures with it's owner, though! On the first day he figured out how to undress himself. here, he was hoping to wear his spiderman costume!! ha ha!
We went to the park!
Playing "crash" with his brother in the garage. Frightening!
Playing with cars at the park.
Climbing furniture.
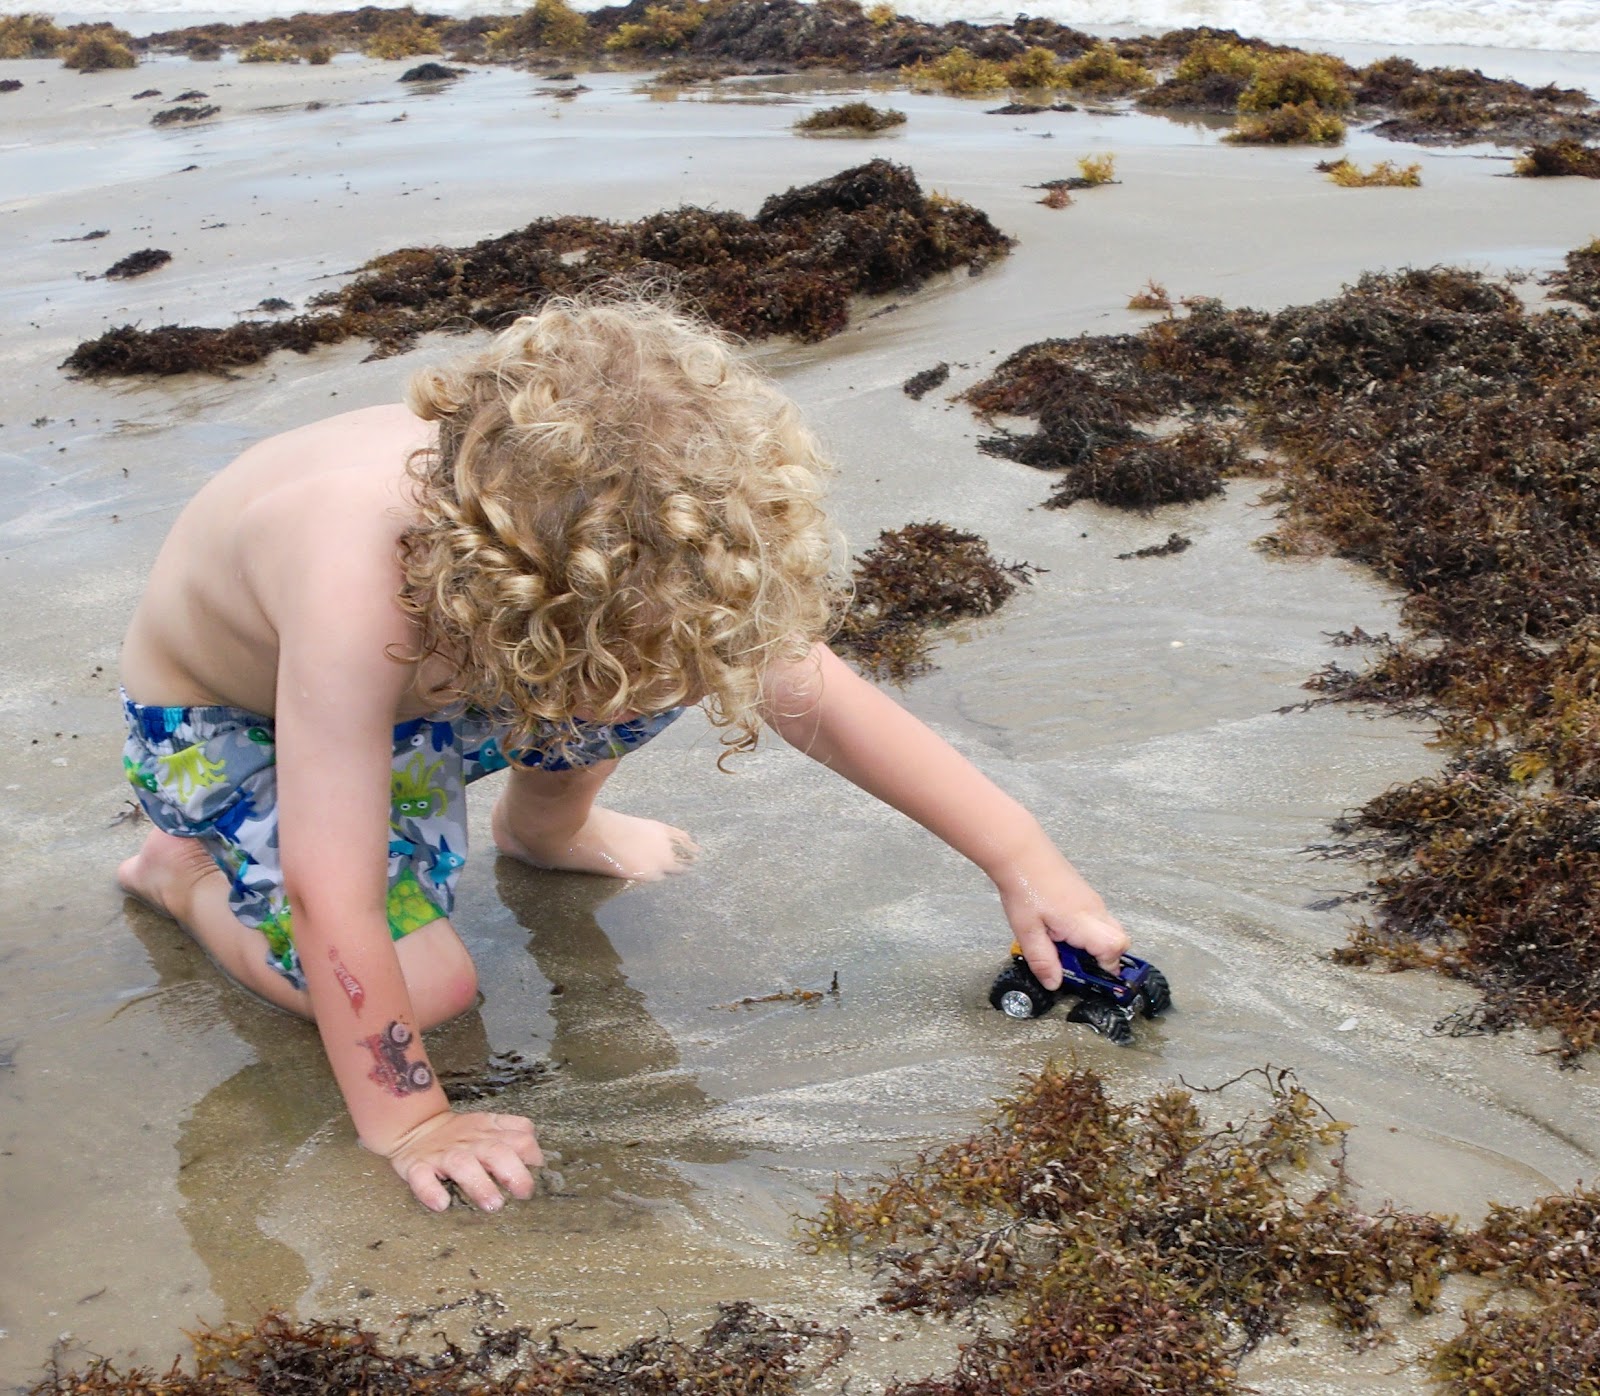
Once he mastered all of that, we hit the beach! Double trash bags!
In Galveston we toured a submarine. It was a tight fit, but even though William was on my back in the
Ergo, we got to see a lot of cool stuff.
A torpedo!
Riding the Bolivar Ferry
Playing a giant game of chess in Galveston. Really, he was lining up all of the chess pieces.
At the beach again!
Playing games with his brother and niece.
Captaining a pirate ship
Having breakfast. it was a great vacation. Thank god for the
Ergo carrier.
So, after 3 weeks, his time with the red cast was over. We were all so sad. NOT!! omg, I hated that huge thing. I'm sure William hated it more!
William was a little afraid of the saw, but he was super brave.
He does not take his EYES off the guy taking his cast off. I think he's afraid his leg will hurt.
there's a lot of fluffy stuff inside there.
Freedom!! He got an xray after that, and was pronounce healed. however, because he's only five with a rep as a maniac, he got a sentence of two weeks more cast.
Skinny little leg.
gross foot.
Getting a new, shorter cast!
In purple!!
After some initial hesitation, he was able to put weight on this one and was all over the place. here he is at a library art program.
and we went to a friend's camel ranch and he rode a camel. He was all over the ranch.
Finally, time to get rid of this one! Check out the fancy duct tape on the bottom! He's smiling here because there is a teen on the next table getting her cast off and he had been talking to her a bit. He's friendly with other kids, and was excited to see someone else with a broken leg.
Look how filthy this one is!
And, his leg is super hairy!! ha ha!
And, he's goofy as usual. He's wearing a knee cap model on his head, as a hat.
And, his final contraption, a boot! he only wears this for a week, so next week when camp resumes, he'll be without it. He can now shower and swim, and he's been swimming once already! he's still a little nervous to put weight on his leg without a cast/boot, but I'm sure he'll get over that.
Thus concludes our adventures with a broken leg! I hope we never do this again!
Something tells me that with a three year who does
This.............
And this.........................
And a 5 yr old who does this............
We *might* have at least one more boo boo in our future.