Ingredients:
Sewing machine with a zigzag stitch (my machine is the Janome TB-30)
needle
presser foot with a wide enough opening for zigzag. (came with the machine)
button
fray check or seam sealant.
thread
scissors
pencil, marker, or chalk
glue stick (I use Elmer's washable school glue stick...goes on purple).
familiarity with the stitch width and stitch length adjustments (in your machine manual)
I needed to add 10 buttons to this shirt, from Kwik Sew 3422.

So, to start off, assemble all of your ingredients. Have all of your buttonholes finished, sealed and opened.
Pin your item closed in the position you intend it to have when the buttons are holding it closed.

Use your marking tool (marker, pencil, chalk, etc) to mark the center of the button hole, thru the hole and onto the fabric below. A dot will suffice. I'm using a water soluble marker here. It's a bright blue that shows up on most of my fabrics.

Next, load your secret weapon: the glue stick! This is the kind I use, because it comes in a gigantic stick. I also use this for doing applique. Check out that tutorial if you haven't already.

Apply the glue stick to where your dot is. See it??

Stick your buttons to the glue area. Make sure the holes in the button are all aligned the same. I glue all of mine at once.

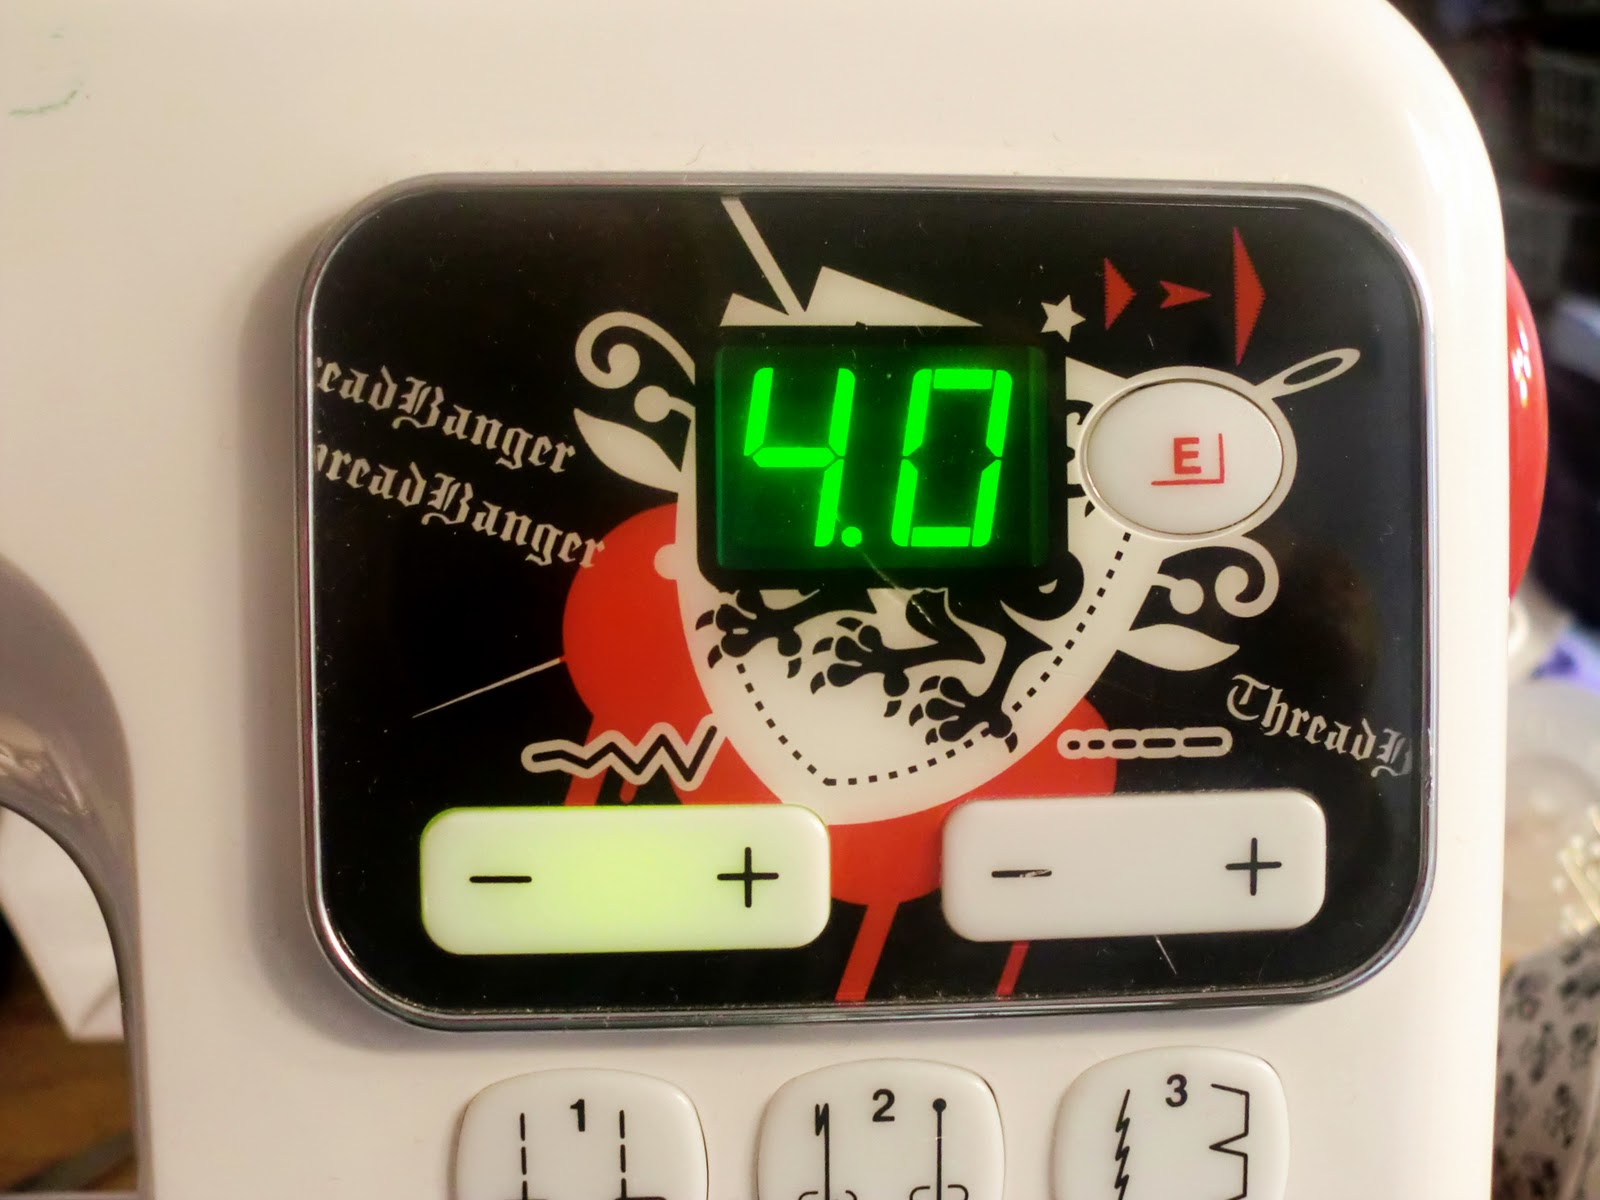
Now, it's time to adjust the stitch on your machine. First, set it on zigzag. Then, make the stitch super short, as short as you can. You need the stitch to be in one place, not moving. Next, you're going to adjust the stitch width to fit your button.
On my machine, the width is the adjustment on the left, and the length is to the right.
Optional: my machine allows the feed dogs to be dropped. This isn't necessary if your machine doesn't do it, but in case it does, here's where the button is on my machine. This keeps the feed dogs from feeding the material back from the presser foot. However, when set on the shortest stitch length possible, the fabric's not going to move anyway. If you do de-activate the feed dogs, make sure to put it back before sewing again.

See the presser foot I'm using? It's for applique, but it's clear so I can see through it well. And, because it's for applique, it's wide enough for a zigzag (called "satin stitch" when used on an applique)

Get your button centered under the presser foot. Use the wheel to guide the needle down in the left hole of the button, then up and down again to the right hole. Go slowly...if the needle hits the button rather than the hole, reduce the stitch width. WIDTH.

Once you're all lined up, sew away!! Probably 20 seconds at a medium speed is sufficient to sew on the button.
Once you've done the first set of holes, lift up the presser foot, and scoot the button back so that you line up the second set of holes with the opening in the presser foot. Use the wheel to make sure the stitch is aligned and go to town!

Woot! One button sewn!!

Here's the back!

I don't cut my threads between buttons. I hate cutting threads so I do it only once, at the end.

Apply your Fray Check or seam sealant to the back of your button.

Apply it to the front, too.

After your sealant is dry, cut the threads.

Because I use so many buttons, and because Doug said the pretty buttons I had been putting on his shirts caused the dry cleaners to do something special and more expensive to clean them, I bought a gross of shirt buttons from Atlanta Thread Company. These are just ordinary shirt buttons, but are fine on his work shirts.
They're size 20L, and cost less than $4.

Don't sew on another shirt button by hand! And, leave your comments.
4 comments:
Can I just hire you to sew for me? I think I've given up on ever being as productive as you!
omg, Kat! I don't have time to do your work PLUS mine!! lol!!
*grin*
You rock! This makes buttons so easy! My sister suggested putting a toothpick under the button for a little wiggle room. ;-)
Post a Comment