
So, back in January, William was supposed to dress up for David Chicken Day, which celebrates David Chicken's coming to Incarnation Academy for a fund raising performance. I wasn't into doing a whole costume of what David Chicken wears, but I did come up with a hat like his. I figured this was less disruptive then a class full of David Chickens, but what do I know?

I know how to make a chicken hat, THAT'S what I know!! I'm not sure why William looks so grumpy here, he was plenty happy with the hat, as you can see from the previous pictures. Hmm.

Anyway, for the tutorial I drafted a pattern and uploaded it to google docs. There are four pages, and you'll have to print each one out separately. I'll link those at the bottom of the page.
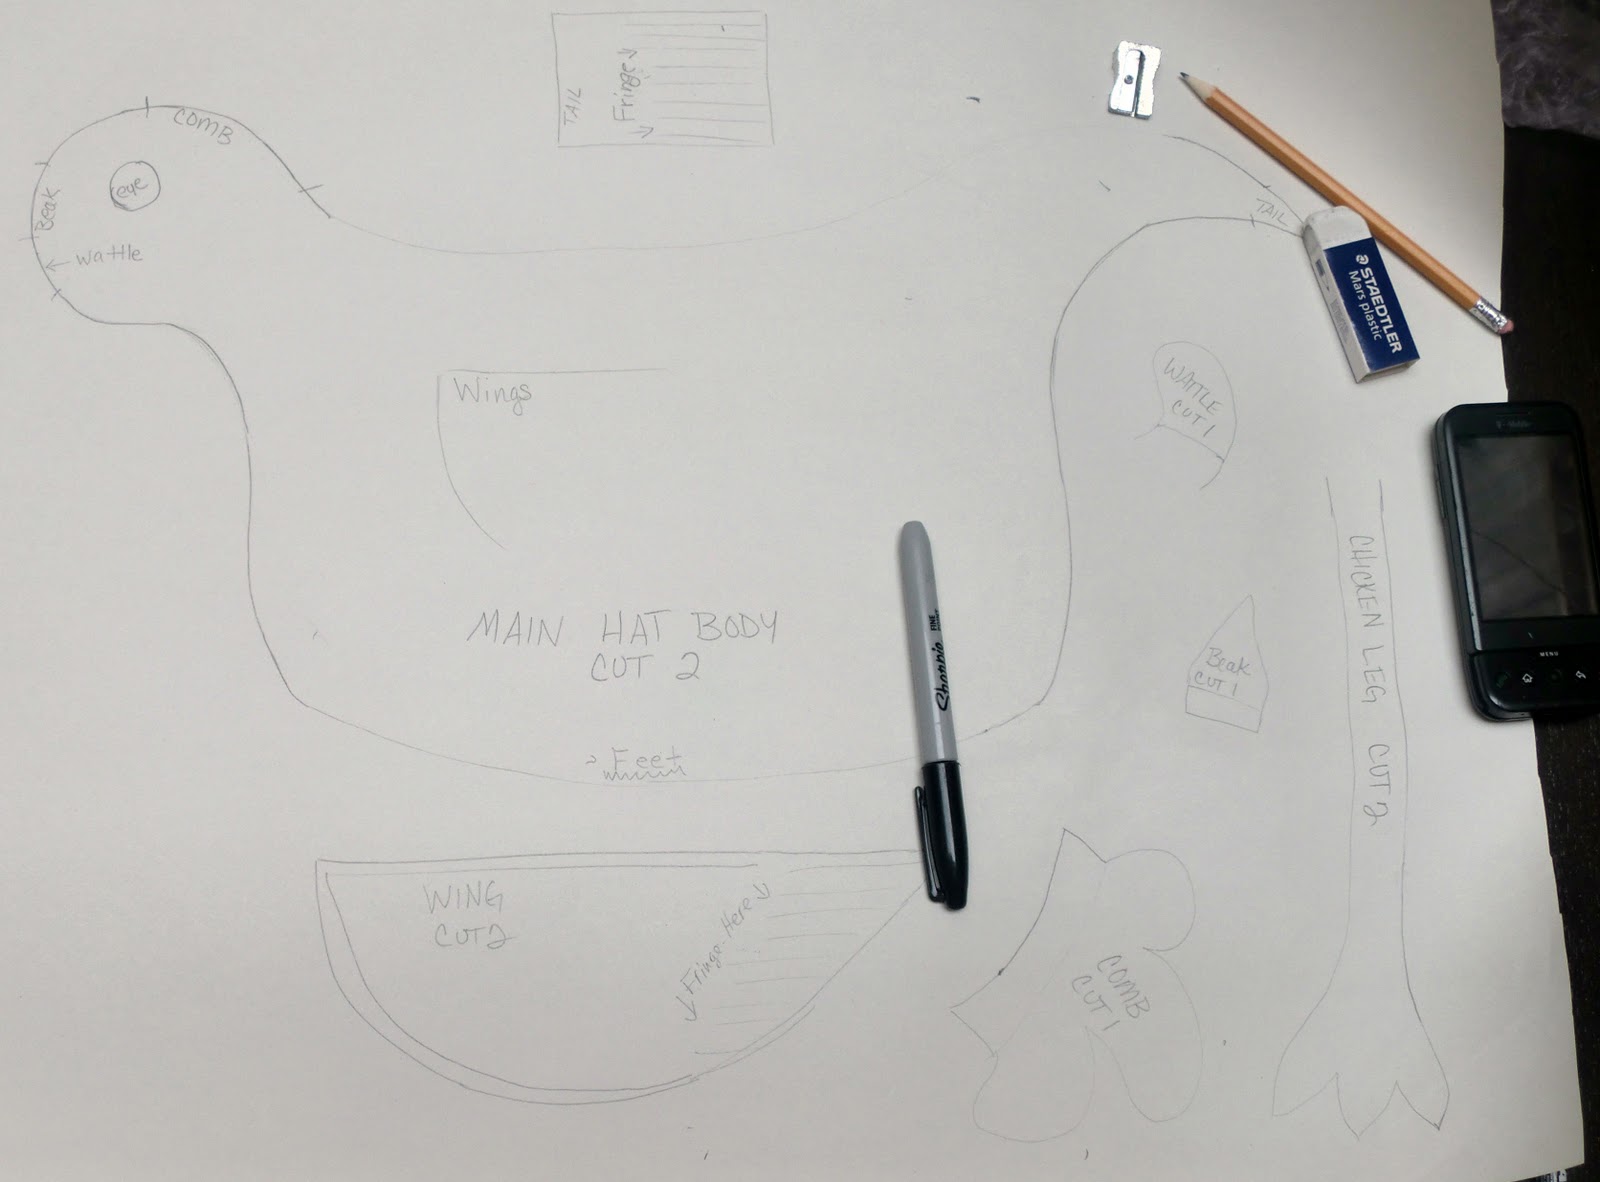
After I draw the whole thing out, I arrange it in 8x11 sections, so the scan to print will be accurate.

Ok, so here's what you need for the chicken hat:
Ingredients:
felt scraps and some yardage(for the body)
sewing machine and notions/equipment
the printed pattern
stuffing
googly eyes (optional..you can sew on felt eyes)
elastic
First, print out your pattern. It's four pages remember. NOTE: on the tail I failed to write CUT 1.

glue or tape your pieces together. Don't freak out if they don't go together exactly. It's not brain surgery and no one will die if it's not exactly matched up. Just do your best.

This is what it's like working in a war zone. The enemy plots to destroy my weapons.

Cut out all of your pieces. Notice each of these have a bit of a "box" at the bottom of the pattern piece. This is the seam allowance for when you are sewing these to the chicken body.

Figure out which felt colors will be going where. My chicken this time will be black, with red feet, orange comb and wattle, and yellow beak. FANCY!!

See him drawing out the map of his attack?

These are my googly eyes, and some plastic eyelashes I found AFTER I finished the red chicken. No matter.

Pin all your pieces in place. NOTE: Please cut only ONE of the tail

Mark your placement "notches" however you wish. I just nipped mine with scissors but chalk or markers are good, too.


Here is a nice pic of the wing placement. Fringe toward the back of the body. Notice the placement of the blue-headed pins. You will be sewing between those, not over the fringe.

To sew the wings on, set your machine to zigzag.

Try a sample with a scrap to see if you like how it looks. I prefer my zigzags to be a bit on the small side.

Sew the wing to the body using the zigzag and avoiding sewing over the fringe. Only the front part of the wing should be sewn down. Clip your strings.

My presser foot tension is adjustable and I found it necessary to lift it up just a bit for sewing these two layers of felt.

I also used my applique foot. Whenever I'm doing any craft sewing, I like to use this foot for better visibility.

Cut fringe in the ONE (you only cut one, right?) tail piece, as marked on the pattern.

Fold it into thirds.

Using the notches you marked as guides, place the folded tail with the fringe out at an angle you find appealing.

Place the comb, beak, and wattle into their places, and pin all the way around the chicken body.

Just like with the wings, we will NOT be sewing between the blue pins. At this point, after you've placed your pins, try the hat on your head. It should go on easily. If it's too tight, move your pins up a bit to make a wider opening.


On the inside of the chicken body, sew the legs on to the part you marked early for leg placement.

Some of my notching shows now that it's sewn together (see blue arrow), so I'll use my small scissors to trim any excess felt away from the seam, on both sides of the hat.

See? Much better.

Now, check the fit of your hat again. If it's loose, or for a kid, you'll probably need to add some elastic. For adults, you probably can skip the elastic and go right to the eye gluing and stuffing.
For a kid's hat, pull a length of elastic around the head gently and overlap a half inch or so. Cut there. Kids don't like tight hats, so make it JUST tight enough to stay on.

fold the elastic in half, then sew the ends closed.

Divide the elastic into quarters and pin evenly into the inside of the hat.

Use your zigzag again to sew the elastic down, remembering to stretch it gently to fit as you sew

The next fun thing is the eye-gluing! I have this glue leftover from making those pomanders with wool flowers on Styrofoam balls. It's pretty good, but dries slow.

My plastic eyelashes were too long and stiff to go around this eye, so I cut them in quarters. I put a big blob of glue down, put down the lashes then the eye. This glue dries clear, by the way.

While those are drying, tempt the enemy from your territory with food. Then go back and find your stuffing material
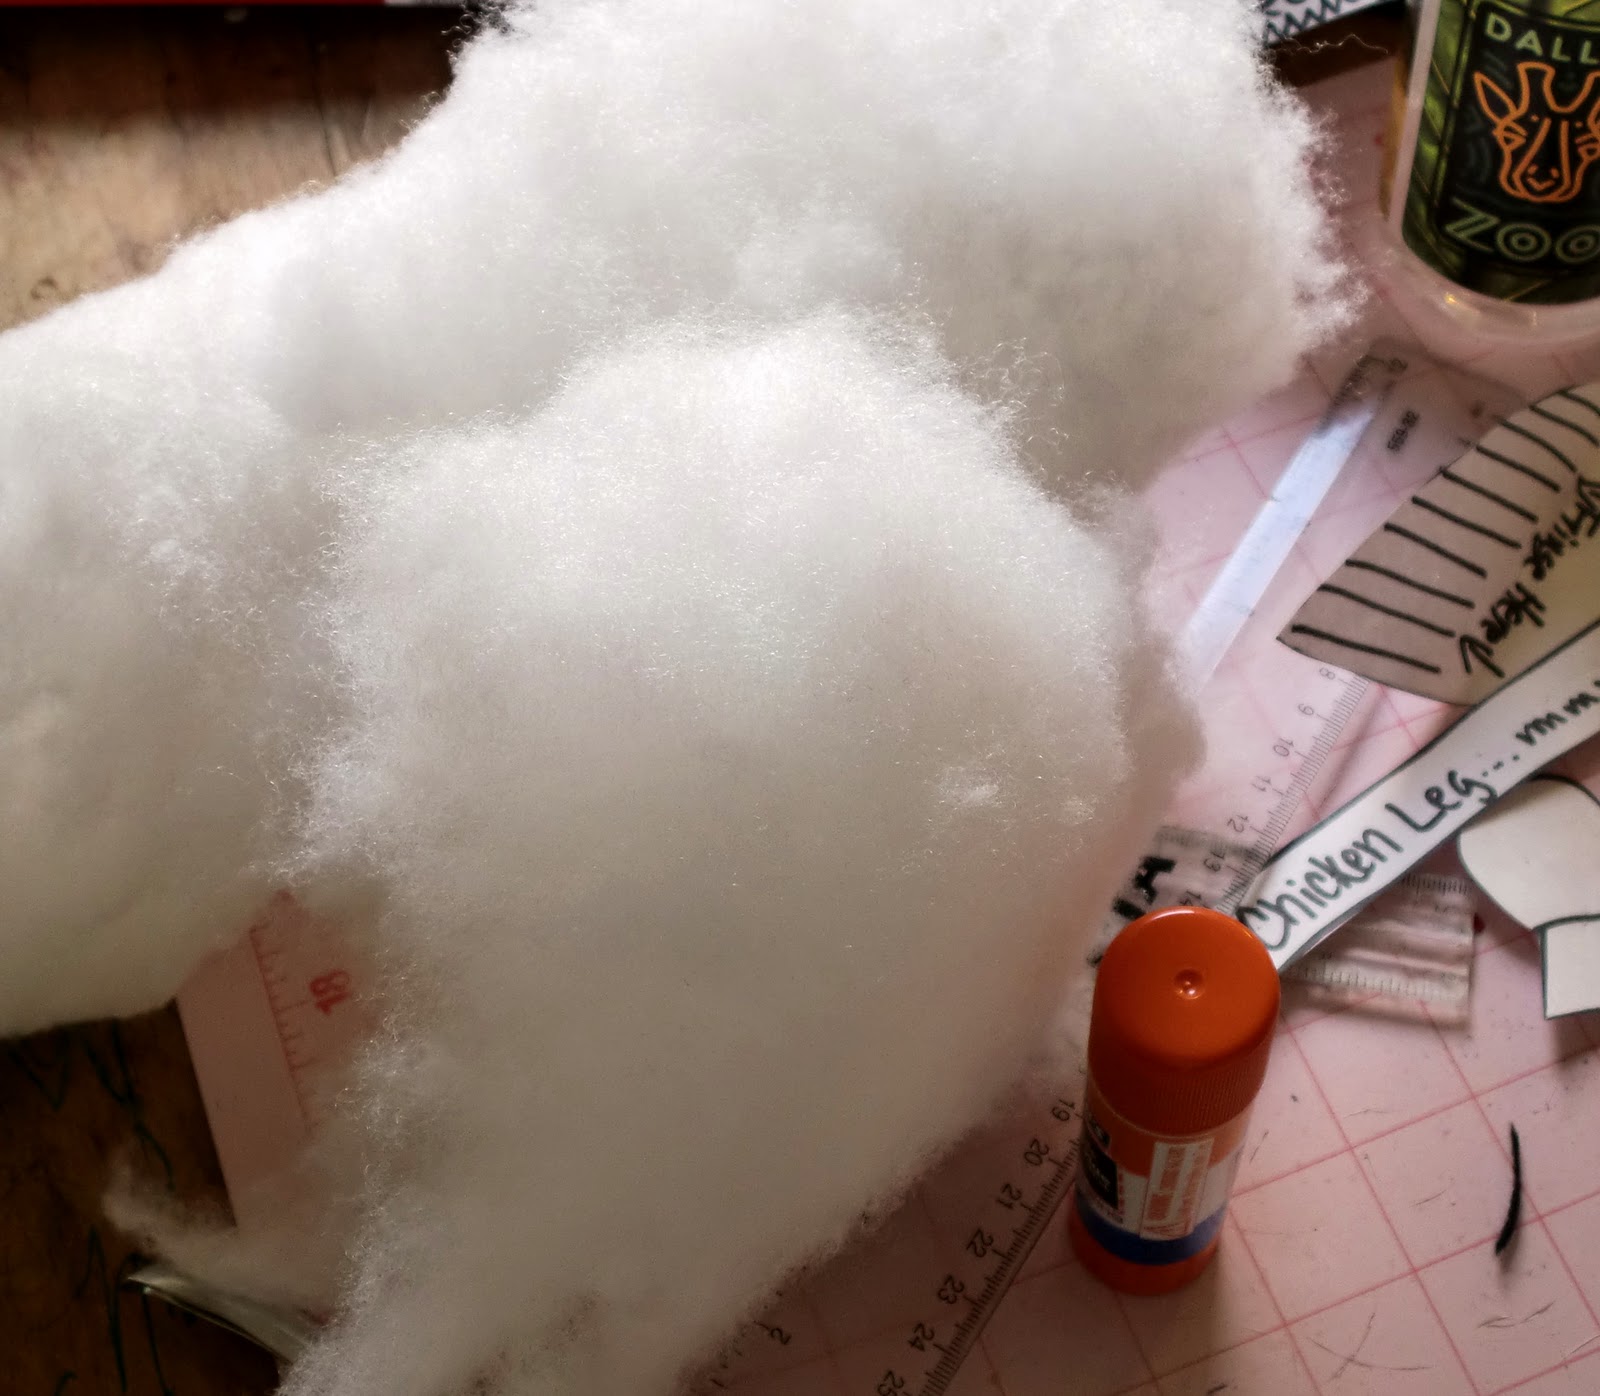
Add the stuffing, small tufts at a time, to the tail and the head, until they are stuffed to your liking. You can keep trying the hat on as you go.

Aldous' head has plenty of it's own stuffing, so we didn't add too much.


Now, it's time to do the Chicken Dance! or, the Bockarena! Shake a tail feather!
Here are the pattern sheets
Number 1
Number 2
Number 3
Number 4
3 comments:
I love the tutorial! I'm trying to convince my husband that he needs a chicken hat. The Chicken Dance at the end was priceless :)
www11.12
coach outlet
nike tn
ferragamo belt
jordan 4
longchamp outlet
nike shoes
red bottom shoes
coach outlet online
hogan shoes
adidas yeezy
nike air max 2019
golden goose outlet
hermes handbags
kd 11
nike air force 1
coach outlet
retro jordans
cheap jordans
converse outlet store
christian louboutin shoes
Post a Comment