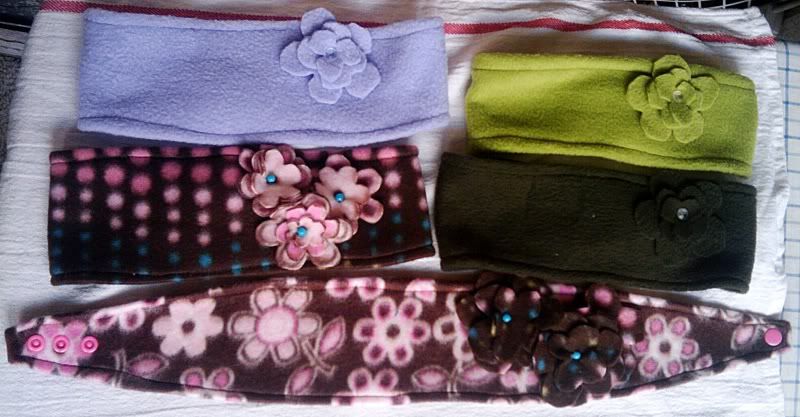
I've been doing some running, and let me tell you, running in the cold is no picnic. I know Dallas isn't as cold as some places, but it's cold enough to want to cover your ears! I made a couple of these for myself. They aren't too tight, they keep my ears warm, and if I'm wearing headphones, it keeps them in my ears when I'm doing my 20 mile sprints. (I jest, I'm just progressing from run/walking 3 miles. There's no sprinting.)
These are SO easy to make, and you can close them with whatever fasteners you have. I made a few for Christmas gifts this year: I put snaps on those, and put a button and button hole on mine.
Ingredients:
Pattern
Small piece of fleece (at least 25 x5 for the main part)
fleece for the flowers
buttons or beads for decorating the flowers
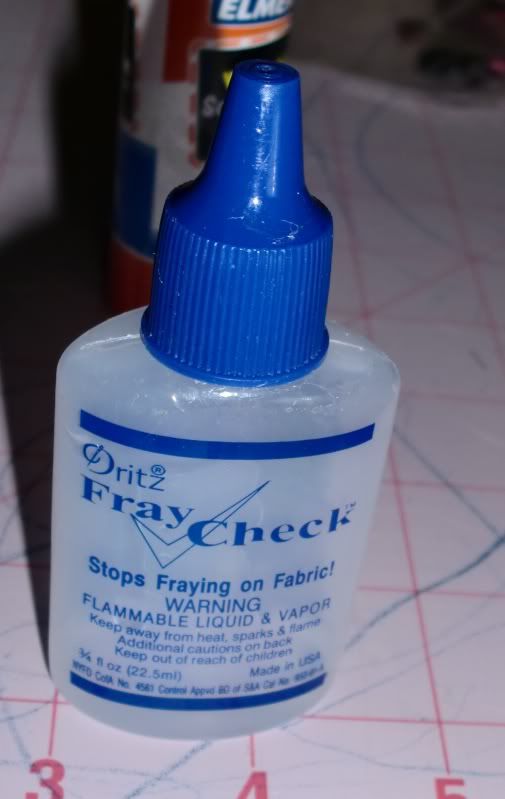
sewing machine and notions, Fray Check
closure for the back of earband (velcro, snaps, buttons, etc)
You can download the pattern and flower template here.
Print your template and cut it out. For size, the headband pattern should be about 11 inches long. It can be a bit shorter and still work well because the fleece is stretchy. I drew this by hand

Cut out all the pattern pieces. Then, check to see which way your fleece stretches most easily. If you have a big piece and you sew frequently, this won't be a challenge. If you have a small piece with no selvage it's worth it to do a stretch-test.
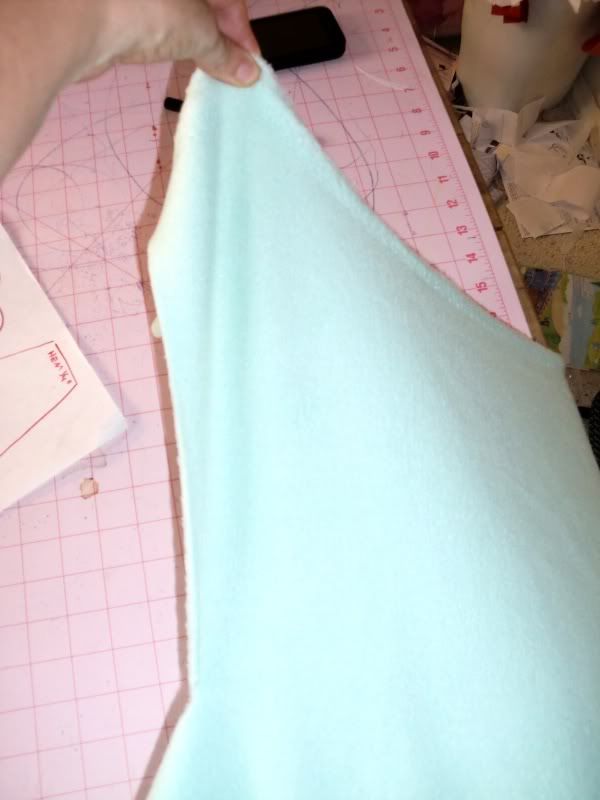
fold your fabric in half, lining up the direction of the stretch according to the pattern.
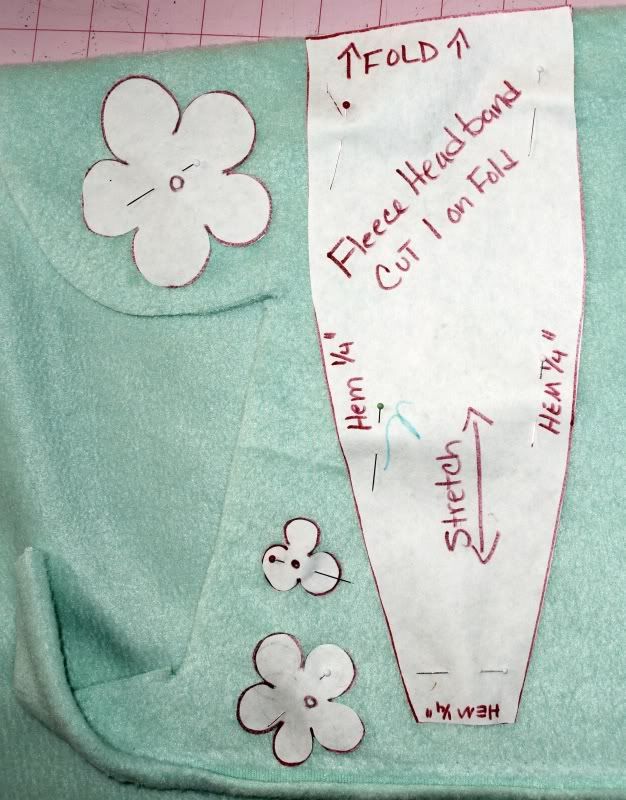
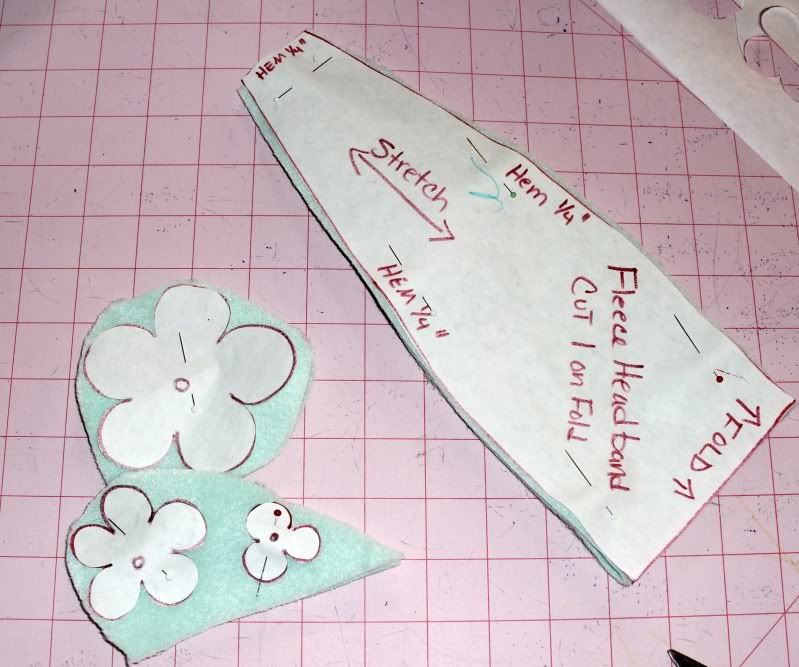
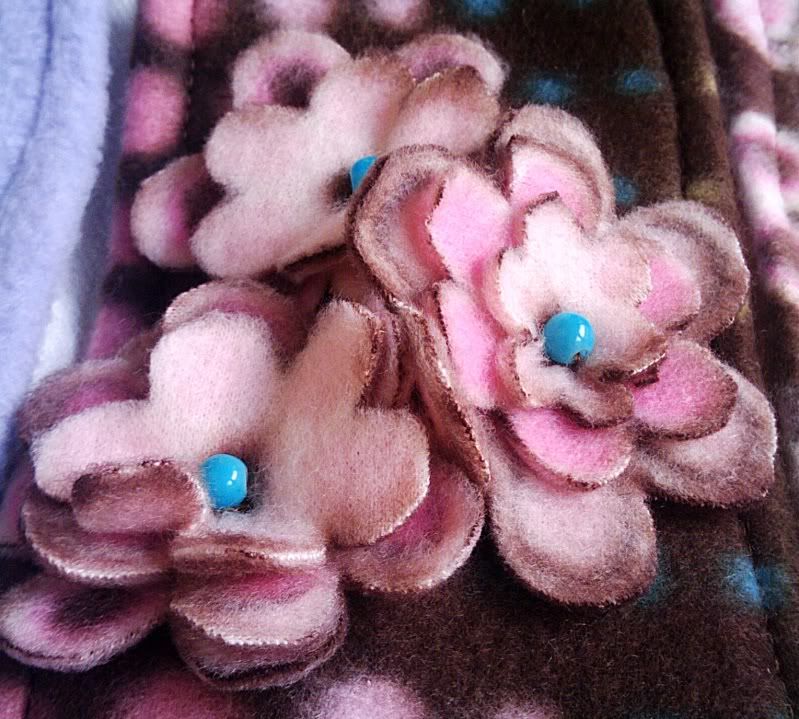
Cut everything out. I save the flowers for when I'm sitting down watching tv or something, since they need careful attention. You can cut out at as many of the flowers you want, as many sizes as you like. I do two of each size, for two stacked flowers, and then three or so of the middle size.
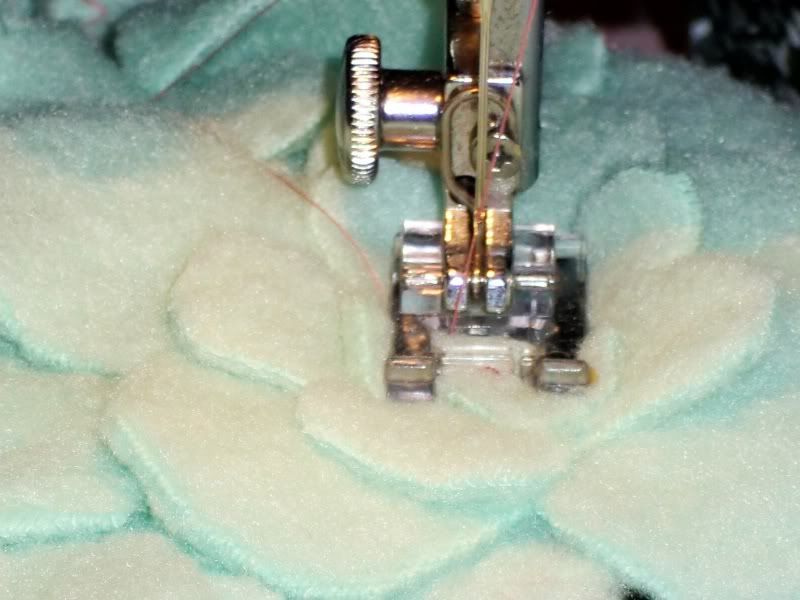
Pin the hem at 1/4" all the way around. For this tutorial, I'm using a contrasting thread.
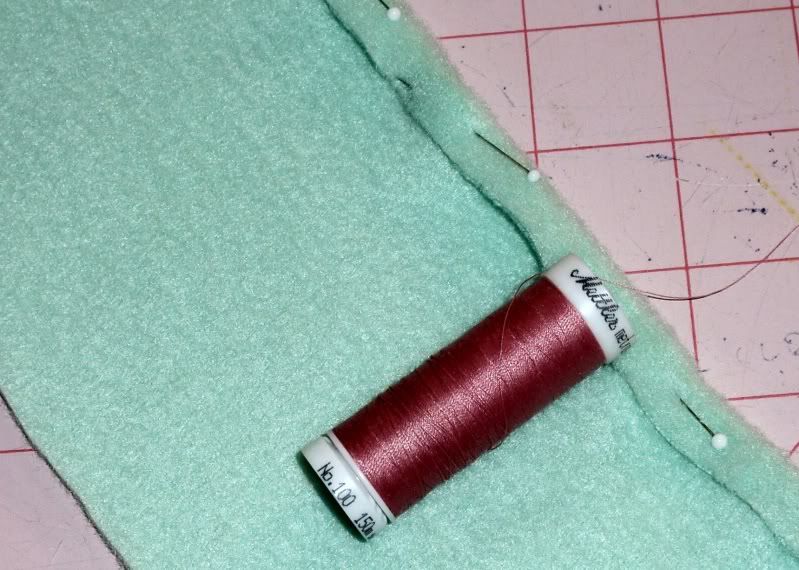
Sew the hem all the way around with a zigzag stitch, or another stretchy stitch. The yellow button you see lit on my machine is the "stop with the needle in the down position" button. With this on, I never have to touch the wheel. Stop at the corner, put your needle down, lift the presser foot and pivot. Presser foot down, continue sewing.
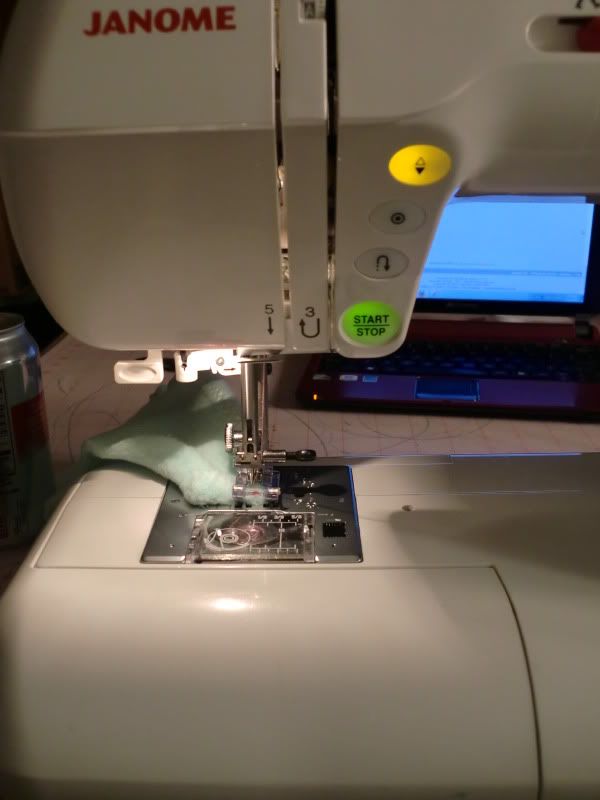
See the zigzag?

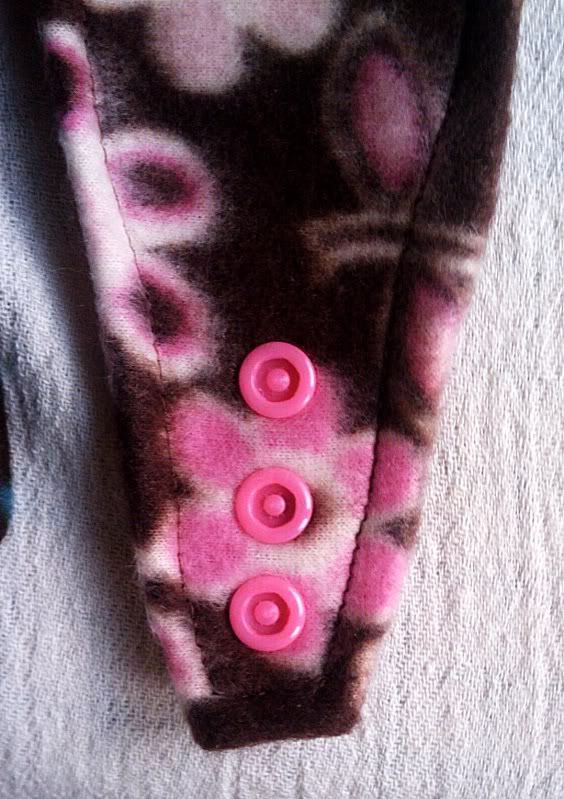
I'm using snaps to close this, but you can use what you like. This is my Kam snap press, and a gazillion snaps. I get my snaps from KAMsnaps.com. I would LOVE to have the dies for metal pearl snaps (and the snaps, of course)

I chose a pink snap, that matches the thread.

I placed three of the bottom part of the snaps on one side.
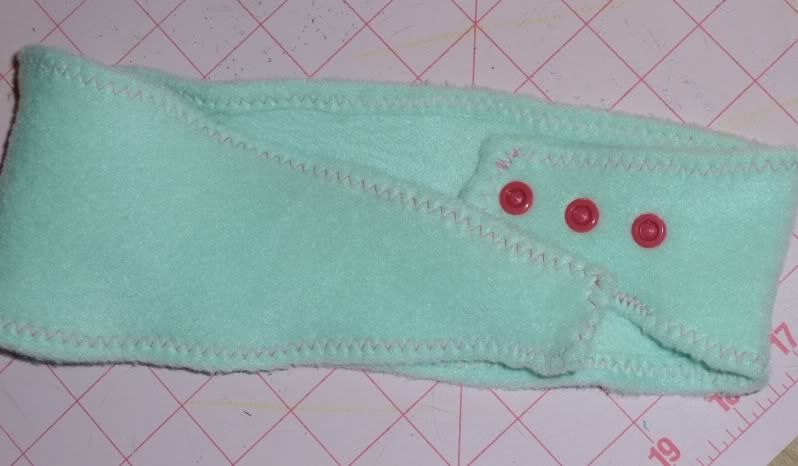
On the side that shows, I put one of the top part of the snap. Having three snaps makes it adjustable for hairstyles, head sizes, etc.

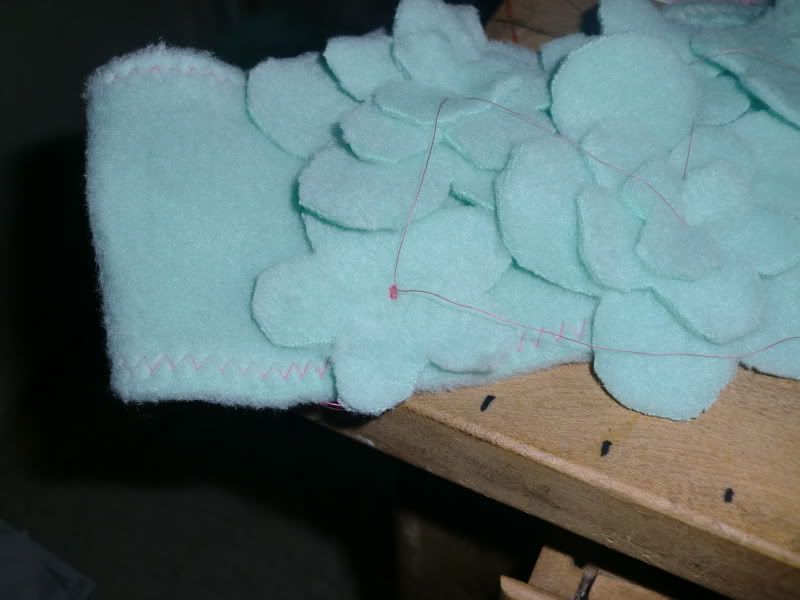
Here are all of my cut out flowers.

To place them, I find the center of the front of the headband by arranging it so the snaps are on the bottom.

I arrange my flowers just left of center, stacking them up.
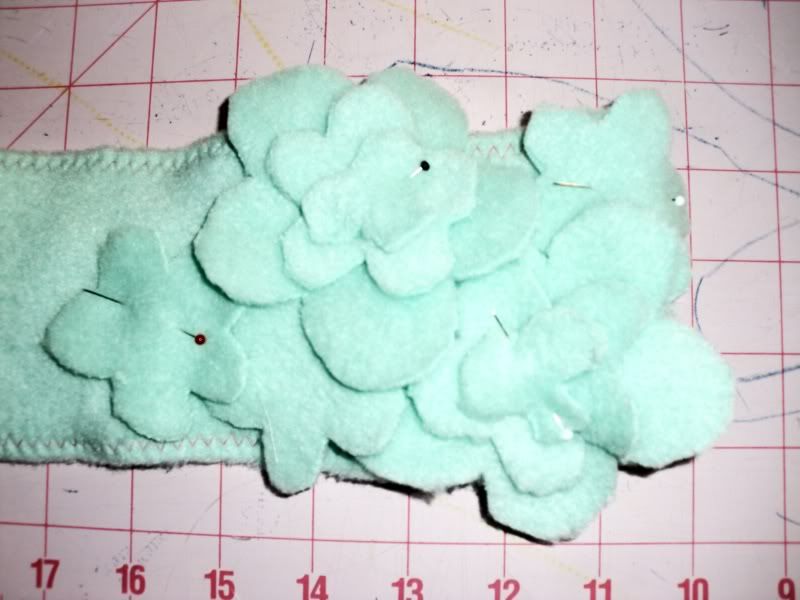
Unsnap the headband before sewing, then use your machine to tack them down. I use the zigzag stitch, set on the shortest stitch length possible so it will sew in place.

If you're sewing buttons on top of the flowers, a few stitches per flower in the center of each is plenty.
See? I never cut threads between. It's easier, IMO, to do it all at once.
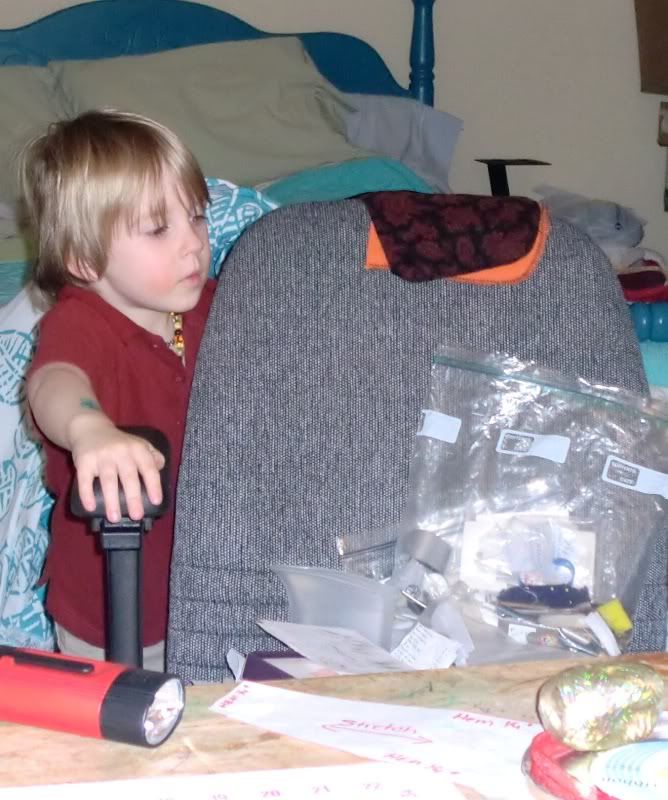
William amused himself by spinning this office chair while I made the headband. The chair is where I put "stuff" that's on my work table so I can use it.
Put a dot of Fray Check on each center.
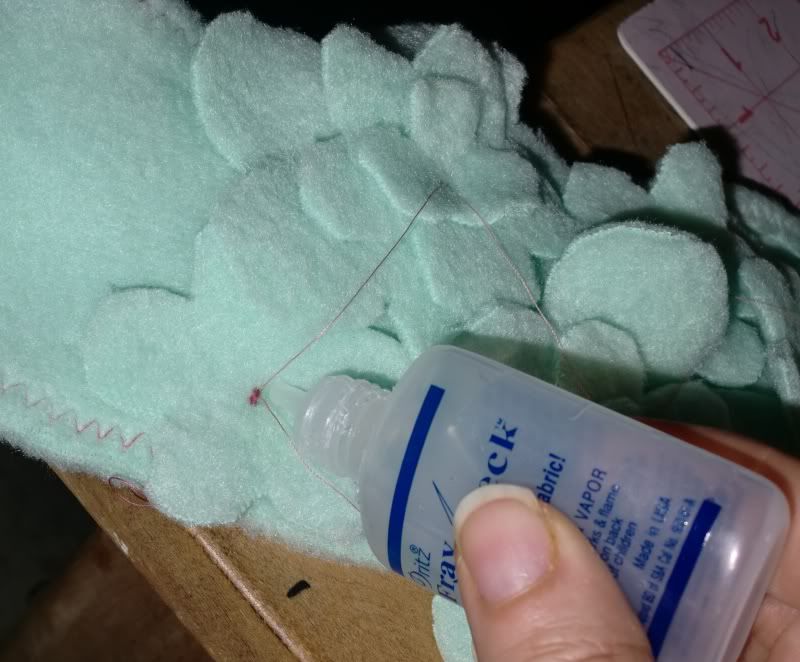
I decided to use buttons as the centers of the flowers so I picked out some coordinating ones. I sewed them on with my machine, then put a dot of Fray Check on the front and back, then cut the threads.
See my "machine sew a button" tutorial, here.

About Fray Check: If you don't keep a pin in the hole at the end, it will clog up and/or leak out of the lid onto everything.
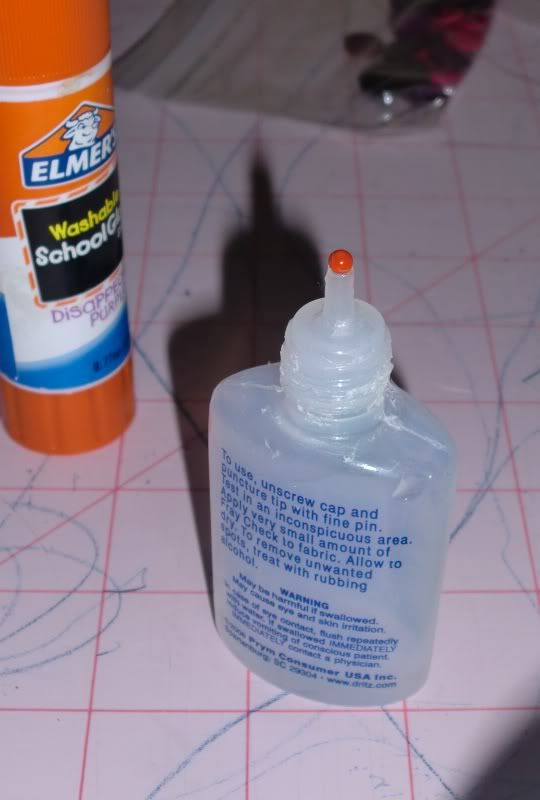
The lid closes perfectly over the pin.
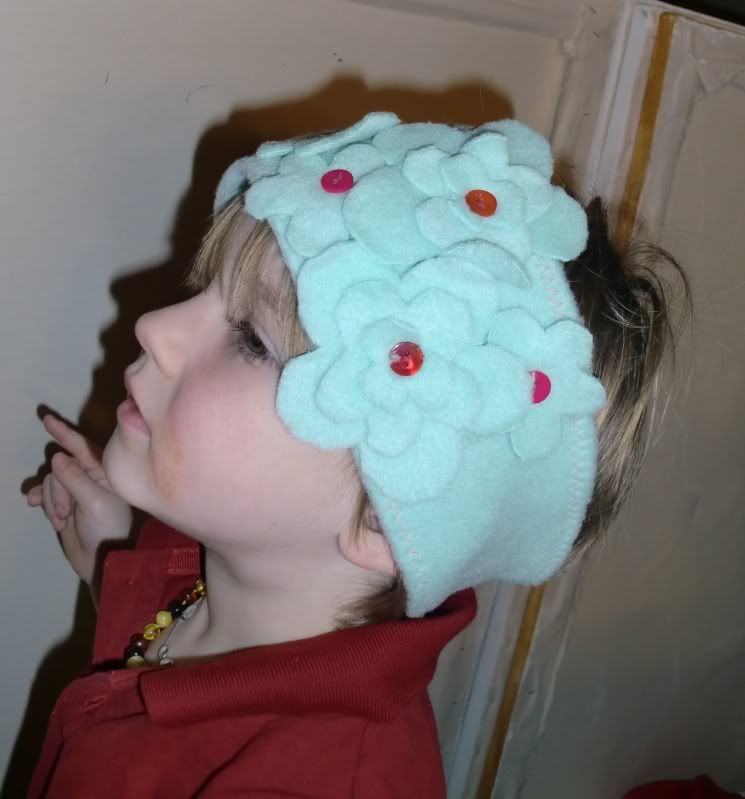
And, William models the lovely new earband/headband!
Now, go make one for yourselves! Here are some that I made this winter.
I appreciate your feedback and comments!
5 comments:
So very simple and cute too! Love it!
Pretty! I especially love the flower embellishment. :)
Well, I am in TN & it's dang cold. i don't run (nor walk...) but this is a super cute idea! Do you think it would be as effective if I doubled it?
sam
You can place metal pearl snaps with a pencil eraser, a wood spool, and a hammer! It's printed on the backs of the packages, usually. But I think your plastic ones are good for a single layer of fleece, the metal ones fasten pretty tight and you wouldn't want to rip your fleece.
-lobbstertael
This is the cutest headband I seen. I hope mine turns out as well. Thank you.
Post a Comment